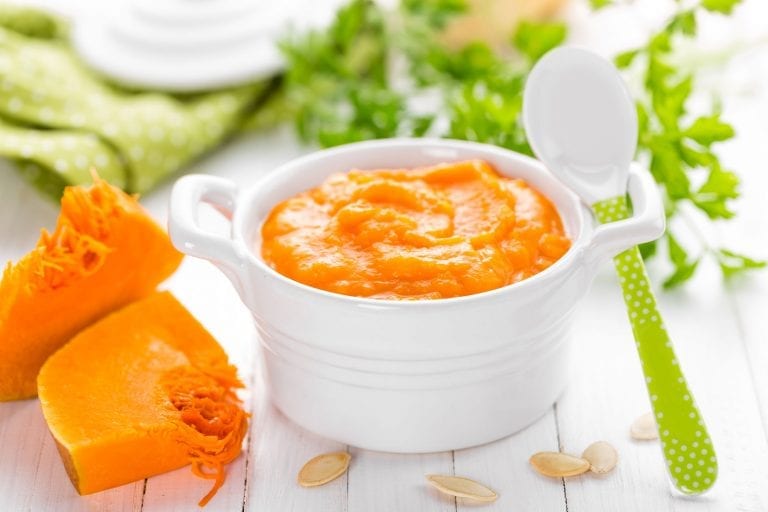
DIY Baby Food: Economical, Easy and Nutritious
Making your baby’s food might seem intimidating, but it doesn’t have to be!
Stumped where to begin when baby’s ready for their first foods? Wondering if you should buy organic prepared foods? Focus on popular brands but worried about recalls? Making your own DIY baby food is an excellent choice when baby reaches 6 months of age.
If you’ve never made your own baby food or known anyone who has, it probably sounds overwhelming. But it’s actually very easy! True, it takes more time than popping open a jar of the store-bought stuff, but not as much as you think. Most foods can be made ahead and frozen.
Necessary equipment
You probably have everything you need in your kitchen already: a saucepan, something for pureeing food (blender or food processor), an ice cube tray and a fork. And to top it off, the only cooking skill you’ll need is knowing how to boil water.
Get started
Before introducing your child to the world of flavors in fruits and veggies, experts recommend an iron-fortified baby cereal. Thin it with breastmilk and serve it with a spoon, gradually using less liquid as baby adjusts to a thicker consistency.
Don’t be surprised when baby pushes it right back out of their mouth on their tongue—nursing is a different way of eating. Don’t give up, just be patient, and give baby very small and liquid-like bites to begin.
Fruits and vegetables blended into a puree are baby’s best beginner foods. Most will need to be boiled or steamed until they’re fork tender and mashable.
Once you’ve boiled or steamed a batch of diy baby food, let it cool. Then place the cooked food in a blender or food processor and blend it into a puree. Add a little of the cooking water as needed to get it to the right consistency. It should be very smooth (no lumps!) but thicker than a liquid. Done!
Store baby’s food
Once you’ve finished a batch, set up to 1-2 days-worth into a covered container in the refrigerator and freeze the rest in meal-sized batches for up to 2 months.
Many moms spoon purees into ice cube trays and freeze for use later. Once baby’s food is frozen, transfer the cubes of food into a freezer storage bag, squeezing any air out as you seal it closed. Write the food and the date it was frozen on the bag.
Defrost frozen baby food cubes in your refrigerator, placing as many cubes as desired into a smaller, sealable plastic bag until thawed. Or defrost in your microwave, stirring and checking the temperature to ensure no hot spots are in baby’s food. Never serve piping-hot food to a baby—room temperature or slightly warmer is best.
Best baby food choices
Some tasty cooked options include carrots, butternut squash, broccoli, potato, apple, pear and spinach. Ripe bananas and avocados are yummy choices that don’t require cooking—just mash up with a fork.
When preparing baby food, never add salt, sugar or honey. (Note: Babies shouldn’t have any honey until they are at least 1-year-old.) Start with single foods, such as squash, and serve the same food for 3-5 days before trying a different good. This will help you learn what food baby likes and if baby reacts to any foods.
If you have a family history of certain food allergies, check with baby’s healthcare provider before introducing those particular foods.
Babies typically learn to eat pureed foods slowly—coordinating their tongue and gums is a new skill baby is developing! Give tiny tastes, increasing the amount on baby’s spoon as they get the hang of eating. Once your little one has mastered the art of eating pureed foods, you can gradually add texture by mashing baby’s food as you then progress to grinding or chopping baby’s foods.
Between 7-9 months, most babies will develop the finger-thumb pincer grasp, this is your cue to start giving baby bite-sized chunks (odd shapes, never fully round, which can be a choking hazard).
Keep nursing baby
Even as you introduce baby to their first foods at 6 months of age, the AAP recommends continuing to breastfeed as solid foods are introduced, up to at least baby’s first birthday and longer, as desired. Nursing before each meal, and then introducing first foods is a recommended best practice to ensure baby gets the vital nutrition from breastmilk first and primarily as baby’s palate expands to also include other foods.
Cooking Baby’s Fruits & Veggies
- Wash and trim as needed; remove peels, stems, seeds, etc.
- Cut into small pieces
- Boil food in a saucepan with water that just covers the food, reduce the temperature to simmer once water boils until food is fork-mashable
- Steam food in saucepan in a basket that sits just above the water until fork-mashable
- Save a little of the water to thin the puree as needed
RELATED TOPICS
See How Chef Tyler Florence Makes Baby Food
Parenting Against Picky Eating
Introducing Solids: When to transition your baby to solids
Tips on How to Transition Baby to Solids
Looking for more information; then go to Feeding Your Baby and Breastfeeding sections where you will find numerous articles that will be of interest.


Comments are closed.